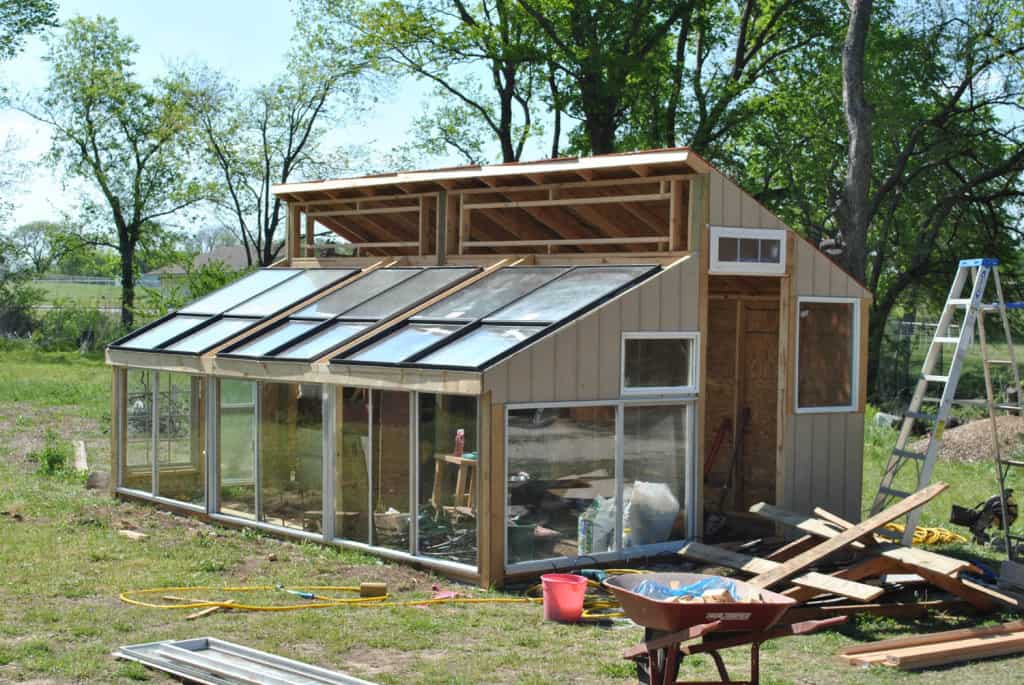
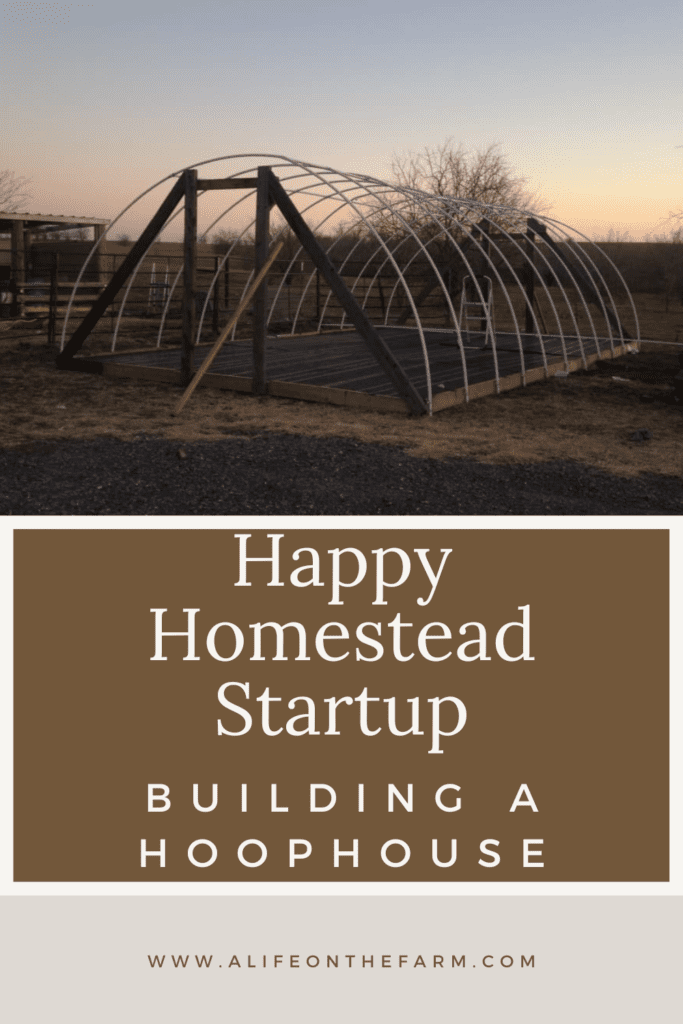
This weekend, my kids and I began a new hoophouse project for our homestead. It was time to build a hoophouse or greenhouse and I couldn’t be more excited. I’ve built one before, a very nice one in fact. It was a hard structure with windows all over three sides. It was very attractive and looked good on the property but it wasn’t really as big or as versatile as I would have liked.
Hoophouse – A New Place to Grow
This time, in my new home, I decided to go with a very functional version of a greenhouse. This time I chose to build a hoophouse. There were several reasons that I chose to go with this particular design this time. For one, it’s a lot cheaper than a traditional hard structure and it’s easy to take down and move should that ever be an issue. However, considering my physical limitations, at the moment, with my injuries, the ease of construction with a hoophouse just fit my needs in a better way.
I love family projects, especially ones that allow us to build and learn together; and that is exactly what we did. My daughter and I built the structure and my two little boys were very good at handing us tools and attempting to keep the dogs occupied!
The Steps
We put together a video of the steps along the way. If you are contemplating a greenhouse or hoophouse of your own, but don’t know where to start, NO WORRIES! I’m here for ya! This is such an easy structure to put up that just about anyone could do it. I’ll go through the basic steps and supplies for you.
The Base
You will need to decide what your floor is going to be. There are many ways to go here. Gravel is a good base because it helps with humidity levels in the summer. You could also just build your hoophouse right on the ground if you are planning to plant directly into your soil. I went with a ‘surplus’ item that I got for free. If I’m anything, it’s a bargain shopper and a recycler of lumber…. My floor is made up of 12-4×8 panels. They are constructed of 2x4s and covered with a hard plastic surface.
After we got the panels into position, I nailed 2×6 recycled lumber all around the perimeter to strengthen it and create one solid piece. …so now we have a floor.
The Hoops
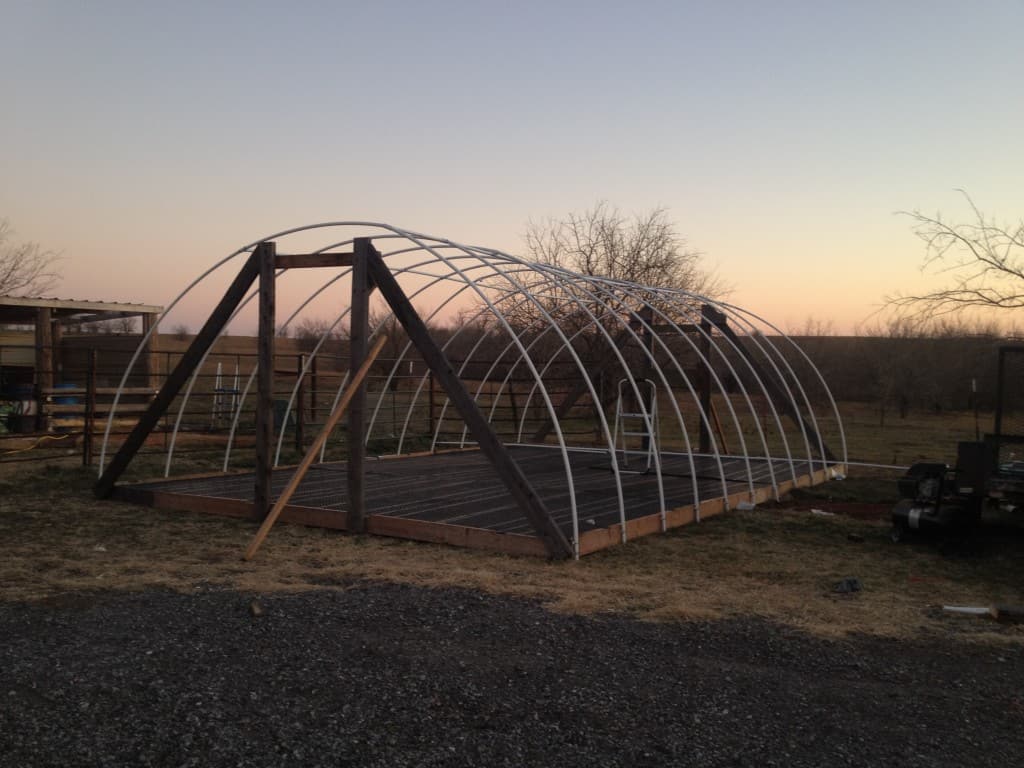
The hoop is made of 3/4 inch PVC pipe, put together with various pipe fittings. Since my hoophouse is quite large, I used 2-10 foot pieces and a 5 foot piece on every hoop. PVC is flexible enough that once it’s put together, you can bend an arc into it and set it into place.
The pipes and fittings are fit together with PVC glue and primer. This is a very important point….they come apart if they are not glued. (I just put that in to emphasize this point because one of our pipes didn’t end up having enough glue and as we were bending it into place, it came apart and knocked me on my tail-end.)
The hoops are attached to the perimeter with little metal pipe clamps that fit the 3/4 inch pipe and hold it tightly to the wood. They are very simple to screw in, but I do caution that this part is a two person job in order to get them straight and tight.
Framing the Ends
You do not have to do this. Many people just let the plastic hang over the ends. I prefer a door, so I framed out both ends of the hoophouse with a very simple wood structure. I put a door on the North and a very simple plastic window on the south. The window is actually just attached with velcro so that we can roll it up in the heat for ventilation.
The Door
If you are going to use a door, don’t fret. This is also very easy. Get your measurements…how big your opening is…which is completely up to you, and build a rectangle that will fit just inside of it. I used 1×2 lumber. It makes the door very lightweight and it’s easy to work with. I cut my pieces, laid them on a flat surface and screwed the ends together. Then, I cut a crosspiece to fit diagonally from one corner to another, just to keep the rectangle square. 😉
After the framework was done, I cut a piece of plastic and stapled it tightly all around the door. SIMPLE!! A note, when you staple the plastic onto the wood, make sure that you fold it 2 or 3 times where you put the staples through or else the plastic will rip easier.
The Plastic
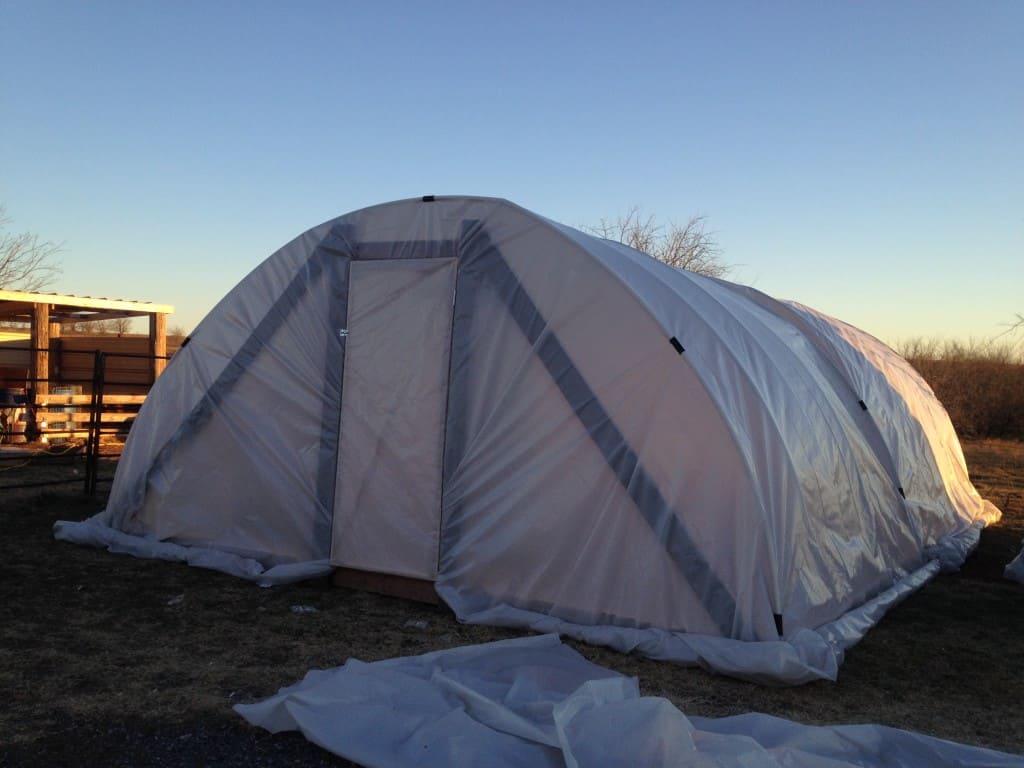
So, now you have your hoops, but you need a cover. My suggestion is 6mil sheet plastic that you can get from a hardware store. I used a 20′ x 100′ roll of 6mil clear plastic. As for how you put the plastic on your hoops, it’s up to you.
There are many ways that you could approach it. I personally took mine over from side to side instead of end to end. I also wrapped all of the excess plastic across the north and south ends so that everything was covered and I only have one seam to deal with. In order to clamp the plastic onto the hoops, I cut 3″ pieces of PE pipe and then cut a small section out on one side so that it would fit over the PVC. Once you clamp them over the plastic, they hold pretty well.
Another thing that I might note here is that we have a lot of wind in our area and as any good country-girl/redneck would do, I turned to tape. LOL. Not duct tape – this time, clear box tape. I pulled the plastic tight and just taped the heck out of it…up to you, but it works for me.
So, once all of this came together, our structure was built. The next step is building the potting tables on the interior of the greenhouse and getting it ready to grow….I am so excited!
This was a very rewarding project to put together’ not just because I love to build and love to grow, but because my children and I got to spend this time together doing a very worthwhile job. I taught, they learned, we laughed and we will have this memory for the rest of our lives. If you are considering beginning a project like this, stop considering and start doing. There is no time like the present to begin down a new and wonderful path!
Have a look at the next post in the series with the finishing details of the hoophouse. Then run over to Two Oaks Farm Talk and have a look at the Greenhouse Part 1 and Greenhouse Part 2 and another Hoophouse that I have built since this post!
More Ways to Connect
We also, as a homesteading family, have three additional blogs that might interest you. Two Oaks Farm Talk concerns the more technical side of homesteading. We discuss subjects like gardening, food prep, and farm building and construction with lots of tutorials!
Farm Raised Family is basically a hub for everything under the Two Oaks Farmstead umbrella. You can learn a great deal about all parts of the farmstead there. The Farm Raised Family blog focuses on financial matters such as budgeting, saving, and more and on current events affecting families.
You can also have a more in depth look at all that we do by visiting our Two Oaks Farmstead YouTube Channel and be sure to subscribe so that you don’t miss a thing!
Farm Life and Freedom is the new podcast we are in the process of launching! It is going to be so much fun!
Two Oaks Farmstead is the farm store… the one that holds the umbrella! Check us all out and join us, not only on our blogs and Farm Life and Freedom podcast but come join the fun on Facebook, Instagram, Twitter… wherever you get social!
