Greenhouse – Ready to Finish
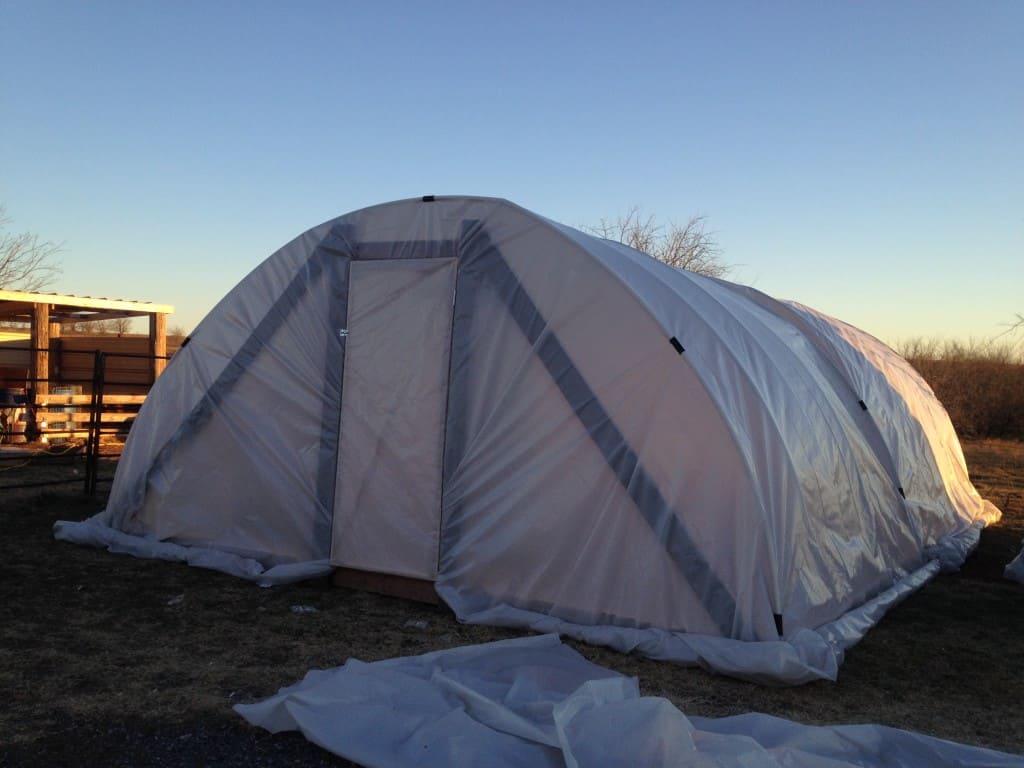
If you were following, you know that we very recently put up a new Hoophouse Greenhouse. It was a very easy project and once the exterior structure was completed, it was time to get the interior done.
I must say, I probably didn’t have to rush right into it immediately, it has still been pretty cold here, but I’ve decided to go with the “if you build it, they will come” mindset. Maybe the finishing of my greenhouse will trigger more spring-like weather. (If this is way off base, don’t tell me and ruin my fantasy!)
My daughter, Paxton, and I ,along with one of my little guys, Mason, got out there and got to work. We put together another video for a little more visual evidence that this is actually happening…:-) I hope that you find this information helpful and that you too might decide to join those of us with dirty hands.
Getting the Greenhouse Interior Ready to Go
To recap, my hoophouse is 16′ wide by 24′ deep. I’m not going to be planting into the ground, I will be using potting benches throughout to keep me from having to bend over quite so much. I will also have a big garden so that I don’t get too lazy…
The first step in this process is to have a plan…I’m big on plans! If you know exactly what your needs are and how you are going to build it, then you will be able to utilize your time properly and waste less material as well. Now, having said that, this time, I didn’t as much have an actual plan as I did a picture in my mind of what it needed to be. I have quite a bit of experience with construction, so I wasn’t all that worried about that part, plus, there was a method to my madness.
Supplies & Planning
I had a big pile of salvaged wood that I wanted to use in this project instead of purchasing new…and I am a big fan of saving money! I decided to design and build as I went along in order to best utilize the materials that I had available. Something to keep in mind here when designing your tables is the size of the lumber. A sheet of plywood is 4′ x 8′. Therefore, cut in half lengthwise makes a perfect 24″ depth to my potting table tops. Likewise, using 8′ long 2 x 4 lumber, I was able to get two 3′ legs and a 2′ endpiece each. This will make more sense in a minute:
If your lumber is 8′ long, you can get two-3′ legs and a 2′ endpiece, however if you cut two-2′ endpieces, then you will only get one-3′ leg and you will waste a foot of lumber. So, the moral to that story is math, though evil, can come in handy in saving money…
Designing to fit the Way I Work
I’m, lets say ..not tall.
I stood up comfortably with a tape measure at my side and determined the best height for me. You need to do the same, to make it as comfortable as possible. If you are going to be successful starting and growing plants, you will want to be comfortable working with them.
Since my greenhouse is pretty good size, I was able to build quite a bit of potting counter space around the entire perimeter and I also built a freestanding 4′ x 8′ table in the center of the greenhouse. Next to that, on each end will be barrels full of water to catch the sun’s heat during the day and radiate it out at night. Also very important to me is a good size bin to mix up my seed starter, as I believe in making my own.
I put in a shelving unit that I had built for something else a couple years ago to house some of my supplies and there will be plenty of storage underneath the potting shelves for anything else..
This really is a very easy task, but if you’ve never attempted it before, it can seem a little daunting at least until you get started. I promise, even if you have never used power tools, once you begin using a pneumatic nail gun, you will wonder how you have ever gotten along without one. It truly does make quick work of the construction process…and then on to the growing! If you don’t have one, outside of swinging a hammer, there is always the option of a drill and construction screws.
Finishing Touches
Now that my potting shelves are complete, it is important to seal them. They will have a great deal of water on them throughout the season and a good primer will coat them and keep them protected. I am using a white color so that it will also reflect light back up from the bottom.
I hope that you are as excited as I am at the upcoming potential of a new growing season. I personally love every aspect of it…ok, so maybe I’m not ecstatic about weeding, but everything else is awesome! I love the smell of the soil, I love getting my hands completely covered in it and planting and caring for my seedlings, watching them grow to maturity and then going on the treasure hunt that is Harvest Season!!!
The beginning of this process can be found at Homestead Hoophouse. You should also check out the Building section of Two Oaks Farm Talk for an additional Greenhouse and Hoophouse that I have since built!
More Ways to Connect
We also, as a homesteading family, have three additional blogs that might interest you. Two Oaks Farm Talk concerns the more technical side of homesteading. We discuss subjects like gardening, food prep, and farm building and construction with lots of tutorials!
Farm Raised Family is basically a hub for everything under the Two Oaks Farmstead umbrella. You can learn a great deal about all parts of the farmstead there. The Farm Raised Family blog focuses on financial matters such as budgeting, saving, and more and on current events affecting families.
You can also have a more in depth look at all that we do by visiting our Two Oaks Farmstead YouTube Channel and be sure to subscribe so that you don’t miss a thing!
Farm Life and Freedom is the new podcast we are in the process of launching! It is going to be so much fun!
Two Oaks Farmstead is the farm store… the one that holds the umbrella! Check us all out and join us, not only on our blogs and Farm Life and Freedom podcast but come join the fun on Facebook, Instagram, Twitter… wherever you get social!


