Part 2 of this week’s baking tips and tricks demonstrates how to decorate a cake …even if you are NOT a cake decorator! It’s ok… There are some pretty cool tricks to help you ‘fake it’ like a pro!
Problem…
So, I am NOT a cake decorator…I’m a cake baker! Having said that, I absolutely love for my cakes to be beautiful, but where I spend my time is in the mixing and baking of a luscious cake!! If you saw the first part of this process on Making a Box Cake Mix Awesome, then you are up to speed on where we are. I adjusted the batter to my liking and baked the layers. That brings us to the decorating.
…Meet Solution
My boys expected a cool birthday cake for their celebration and I was determined and prepared to give them just that. My first step after baking and cooling the layers was to put them together with their filling. I used a cream cheese frosting filling for both cakes, along with plum jam for the first cake and chocolate chips for the second.
The next step was to wrap and freeze them. Freezing your cakes prior to frosting them is a great tip for easier decorating. It makes them much easier to handle, not to mention the fact that you can bake the cakes in advance for the sake of time.
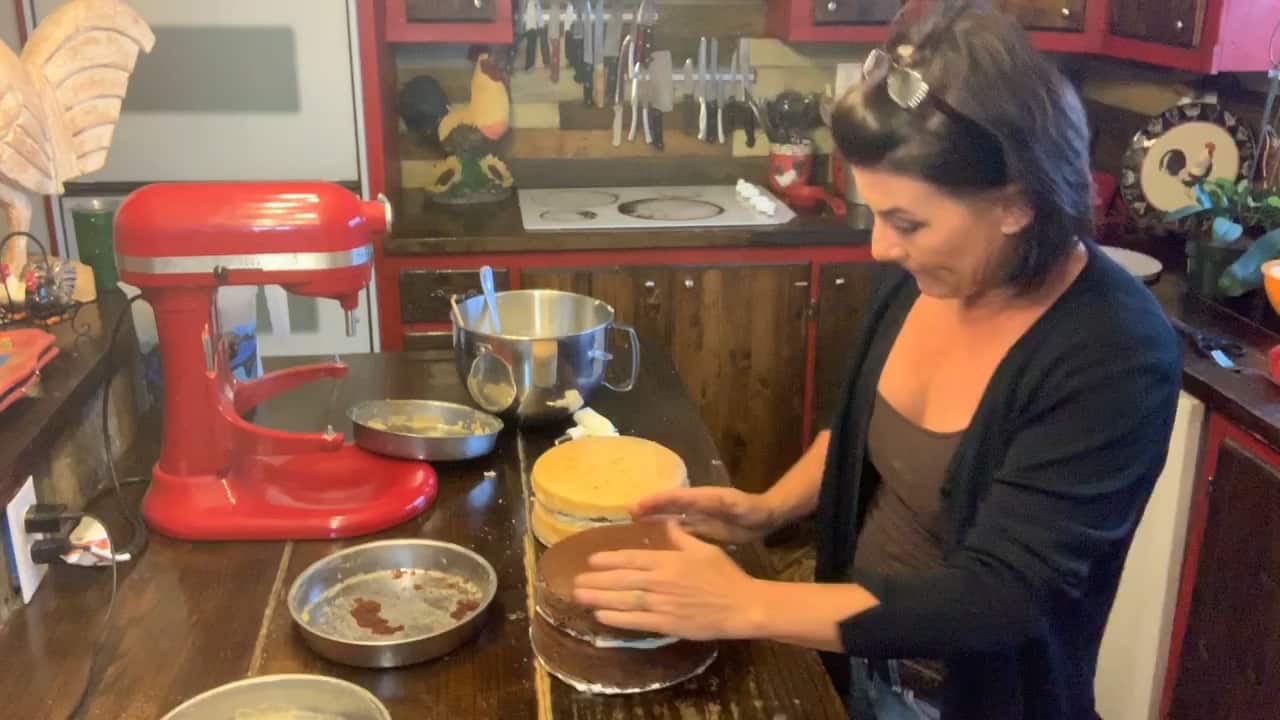
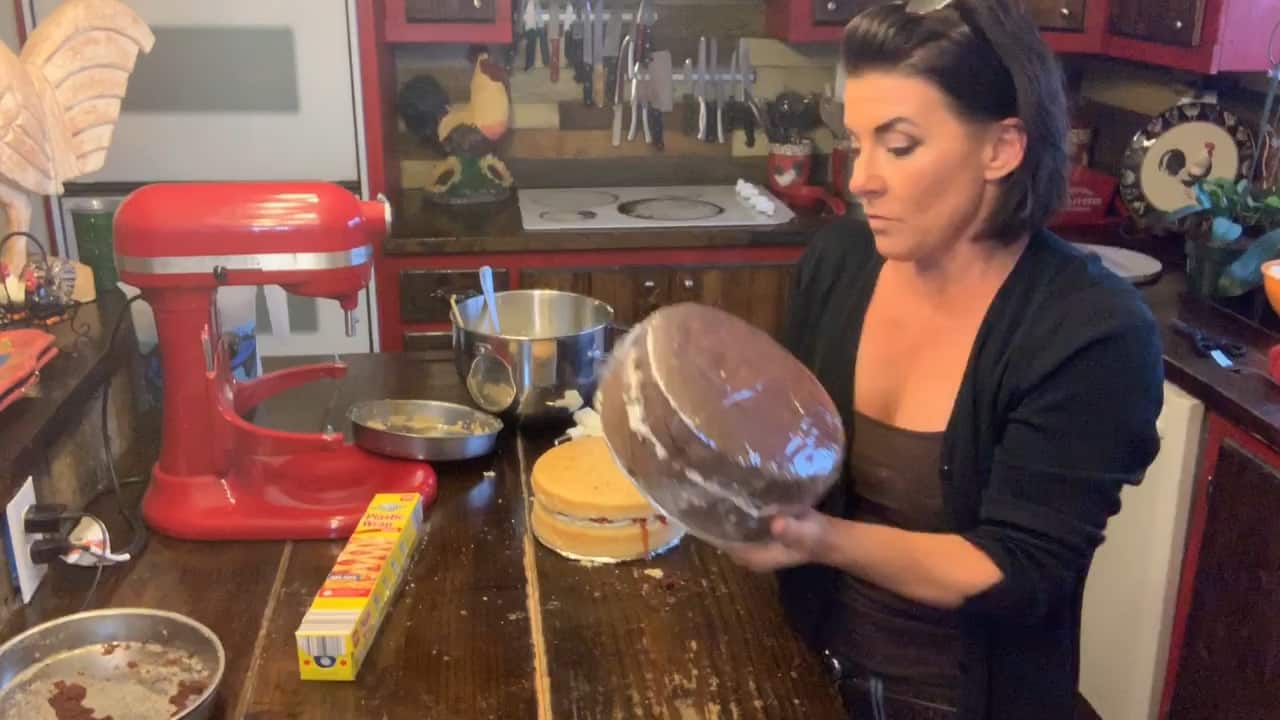
Tip # 1 – Freeze Your Cake First
The evening before the party, I removed them from the freezer and put what I like to call a skim coat of frosting all over them. It’s just a thin layer of frosting to get things started. For my purposes, this was the best method. Once skim-coated, I placed them in the refrigerator to keep them chilled overnight.
Tip # 2 – Skim Coat While Frozen
When I removed them the next morning, before the party, they were ready to be completed. The first cake was my plum jam cake. This is one that I began making this season after one of my batches of plum jam refused to set up. It is now ‘plum sauce’ and it works very well in this particular application. I used a cream cheese frosting filling along with a layer of plum sauce and that would be the finish on top as well.
Decorate a Cake; Cake # 1
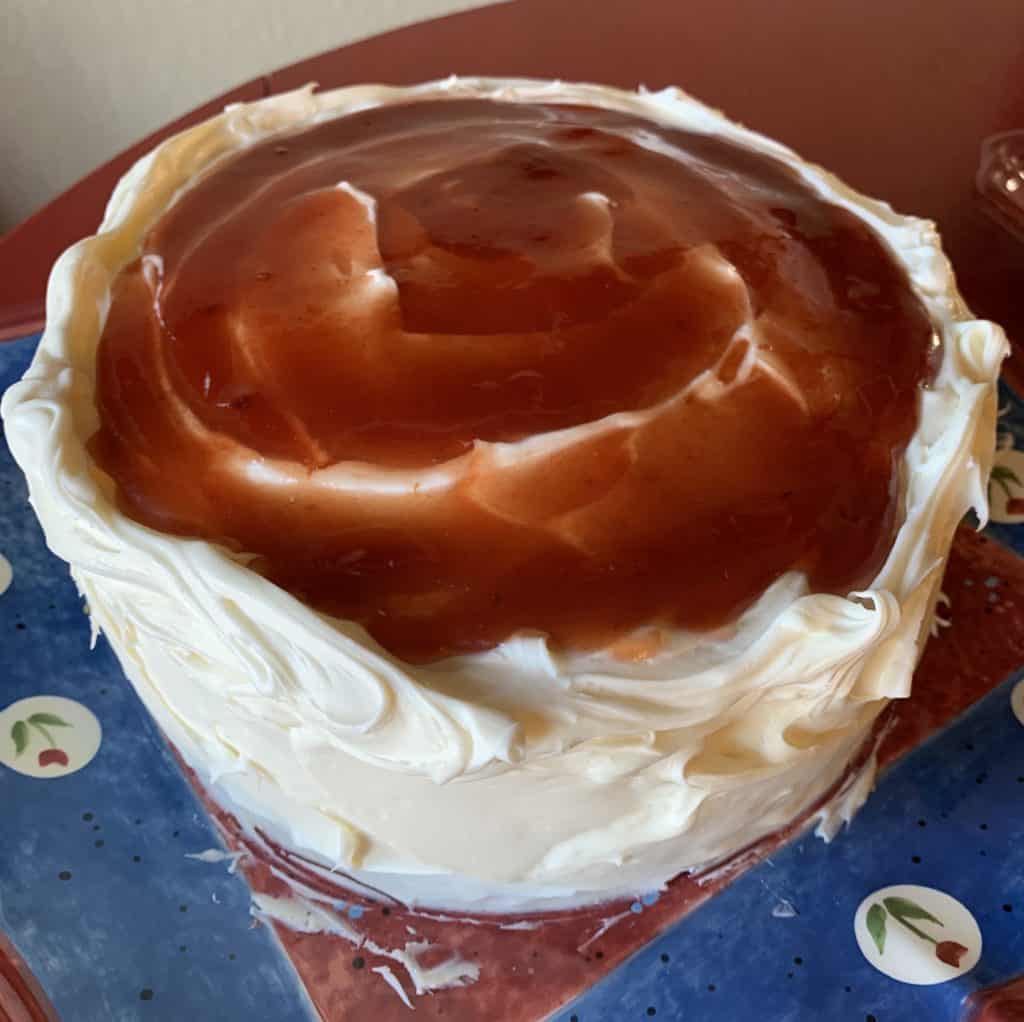
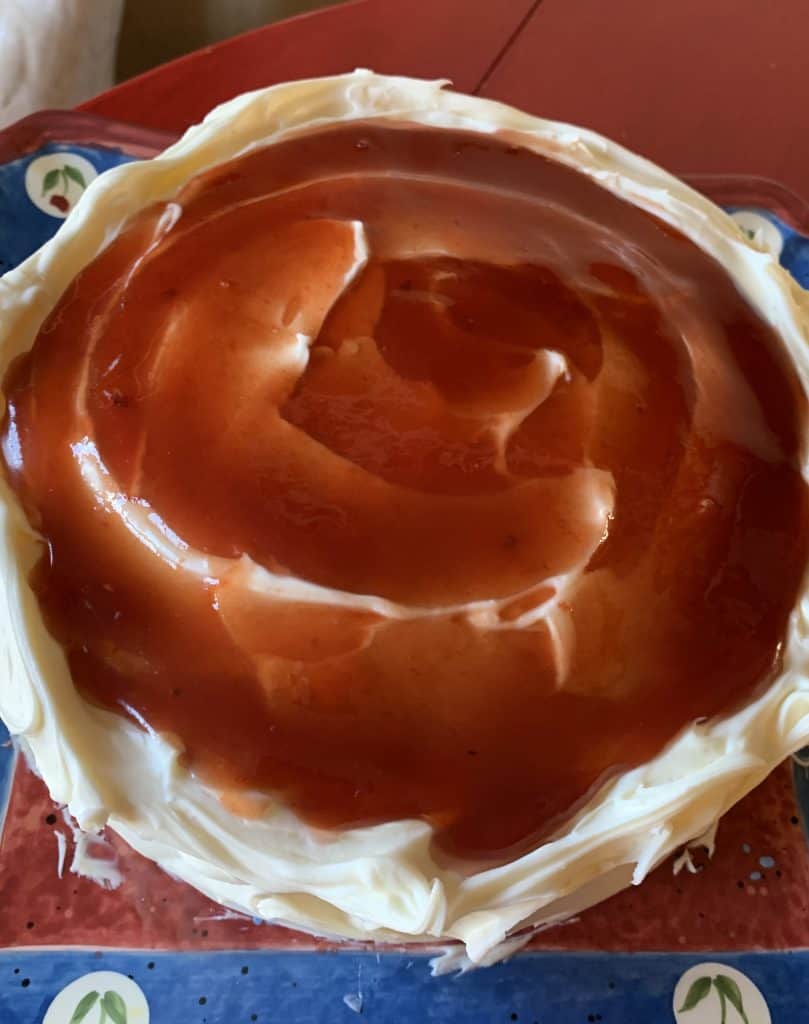
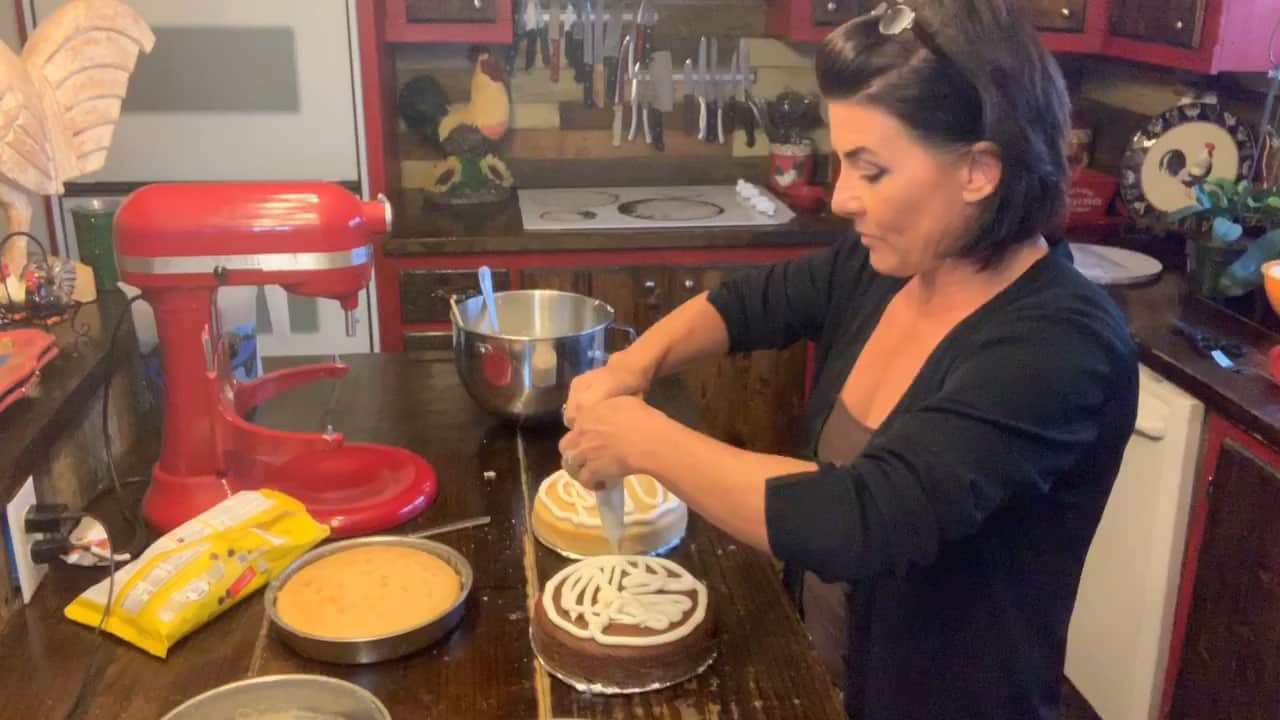
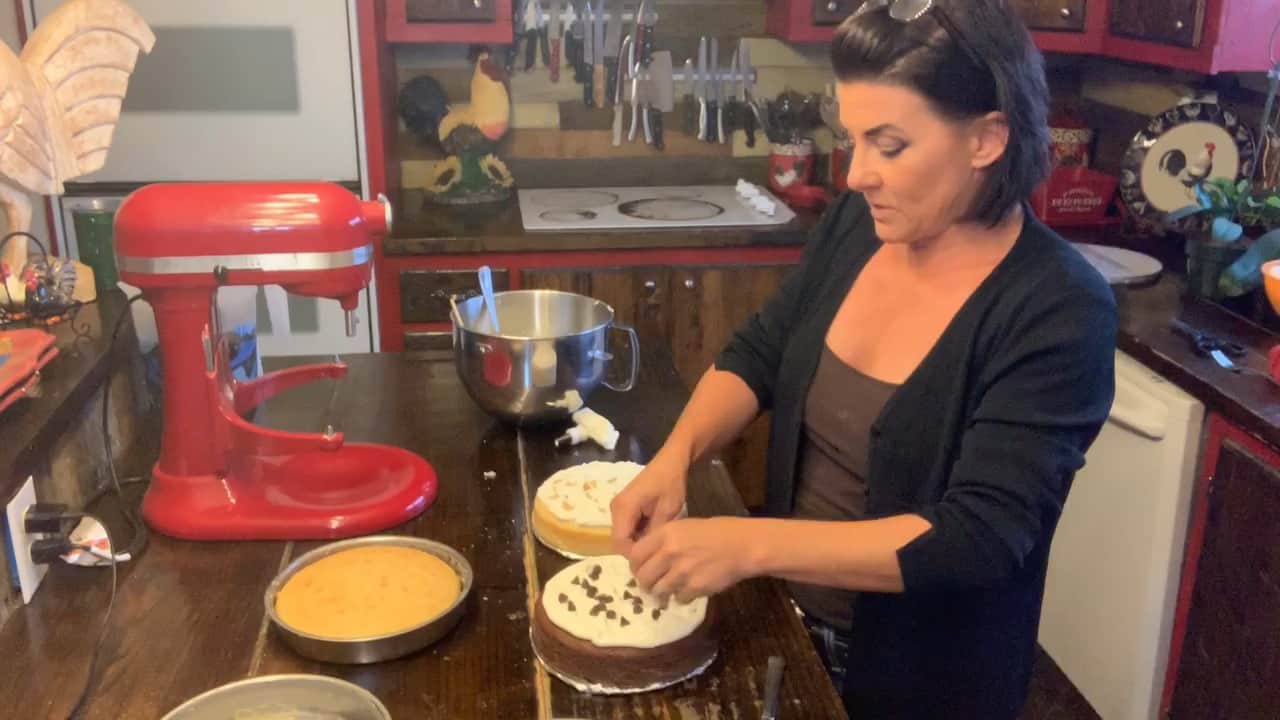
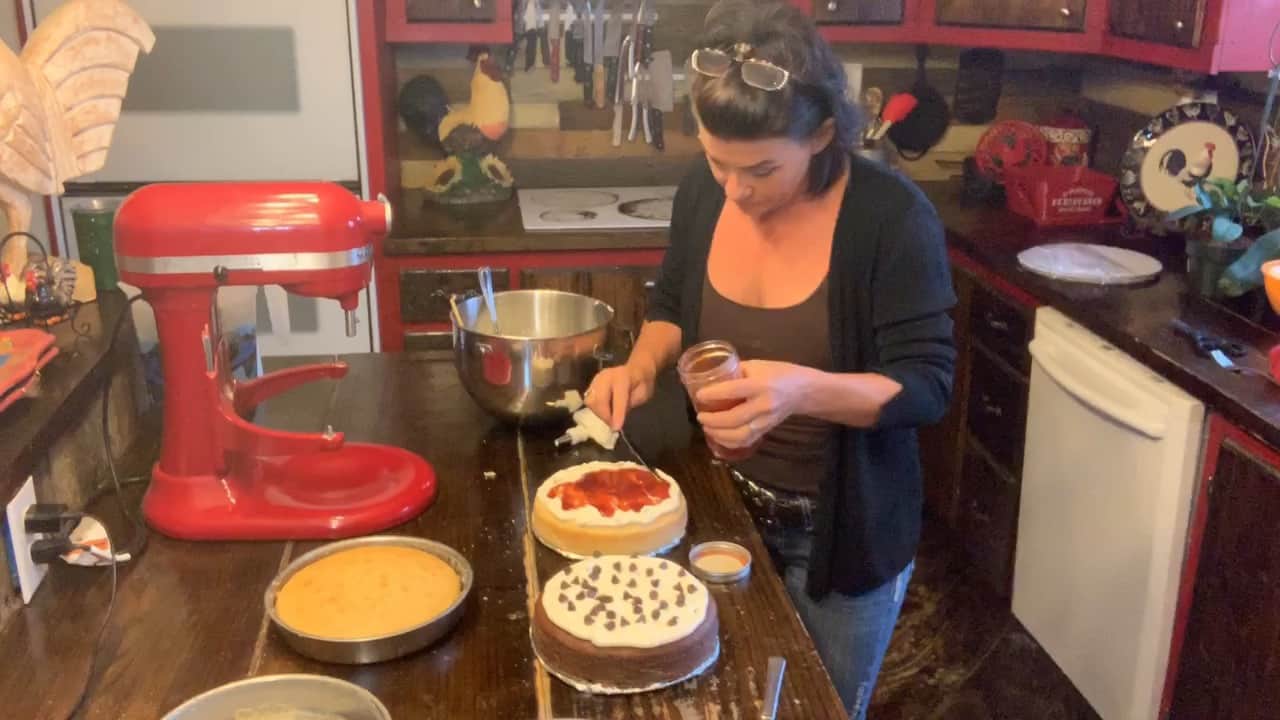
I used a pastry bag with a large tip to get the icing onto the cake before spreading it. Adding the additional frosting to the cake was pretty easy because the cake was still chilled. My only goals were to fill any gaps and make a ‘well’ on the top to hold the plum jam. Super simple, it was going to be pretty no matter what. Once I had the frosting spread around that cake and a ‘well’ made on the top, I simply poured and spread the plum jam/sauce around.
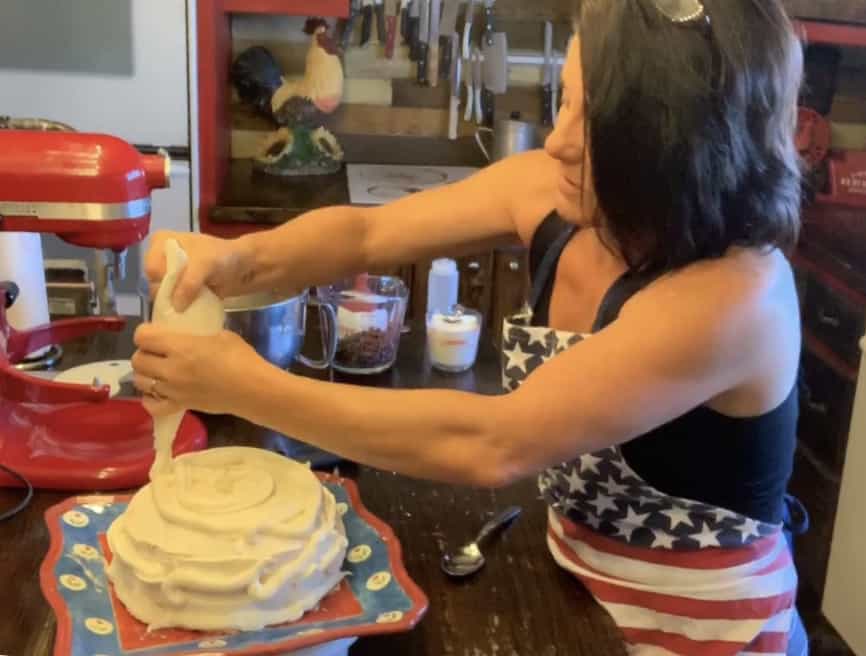
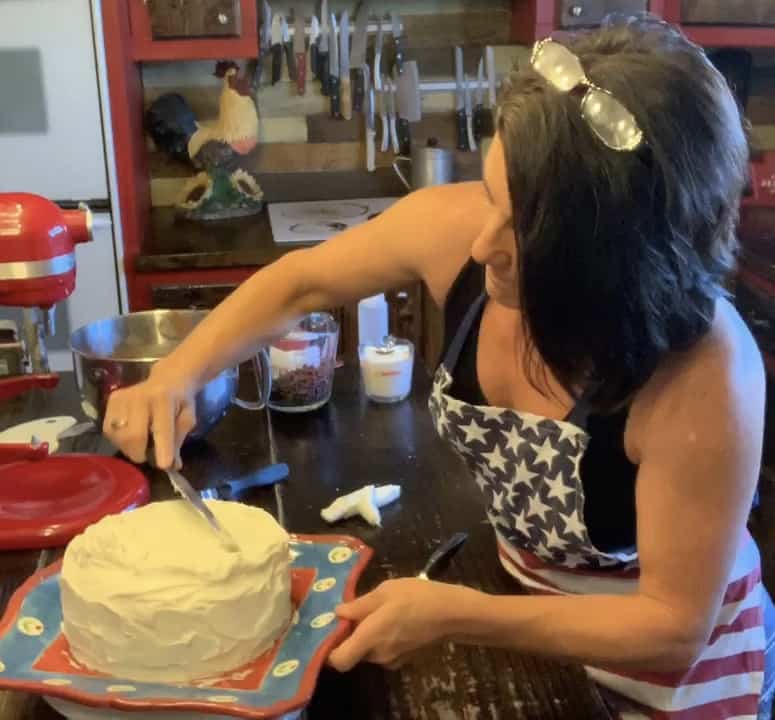
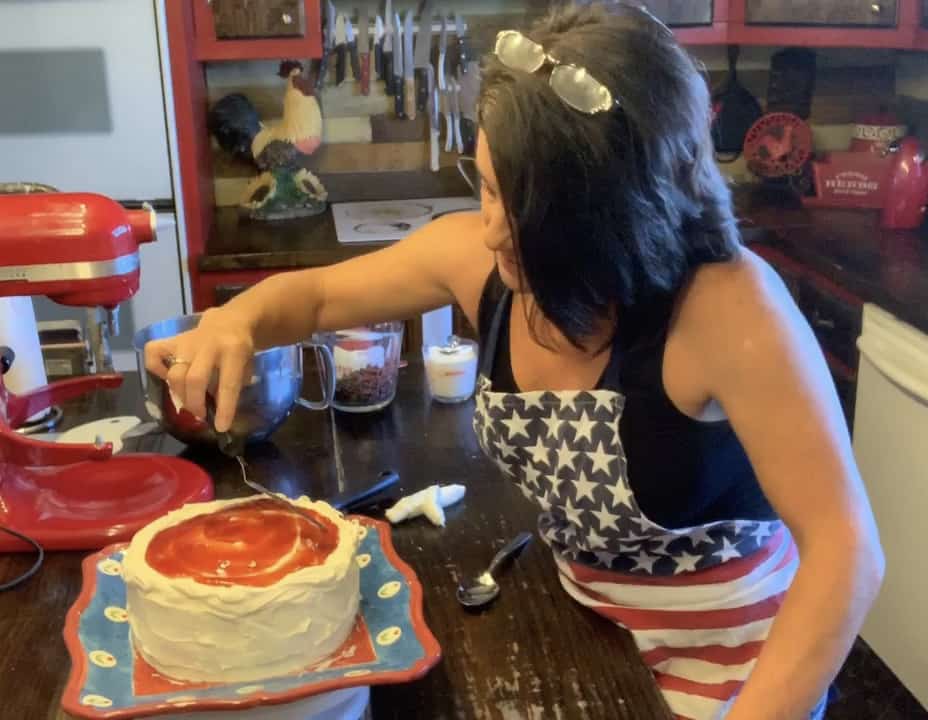
Tip # 3 – Use a pastry bag to add frosting to your cake
Decorate a Cake – Cake # 2
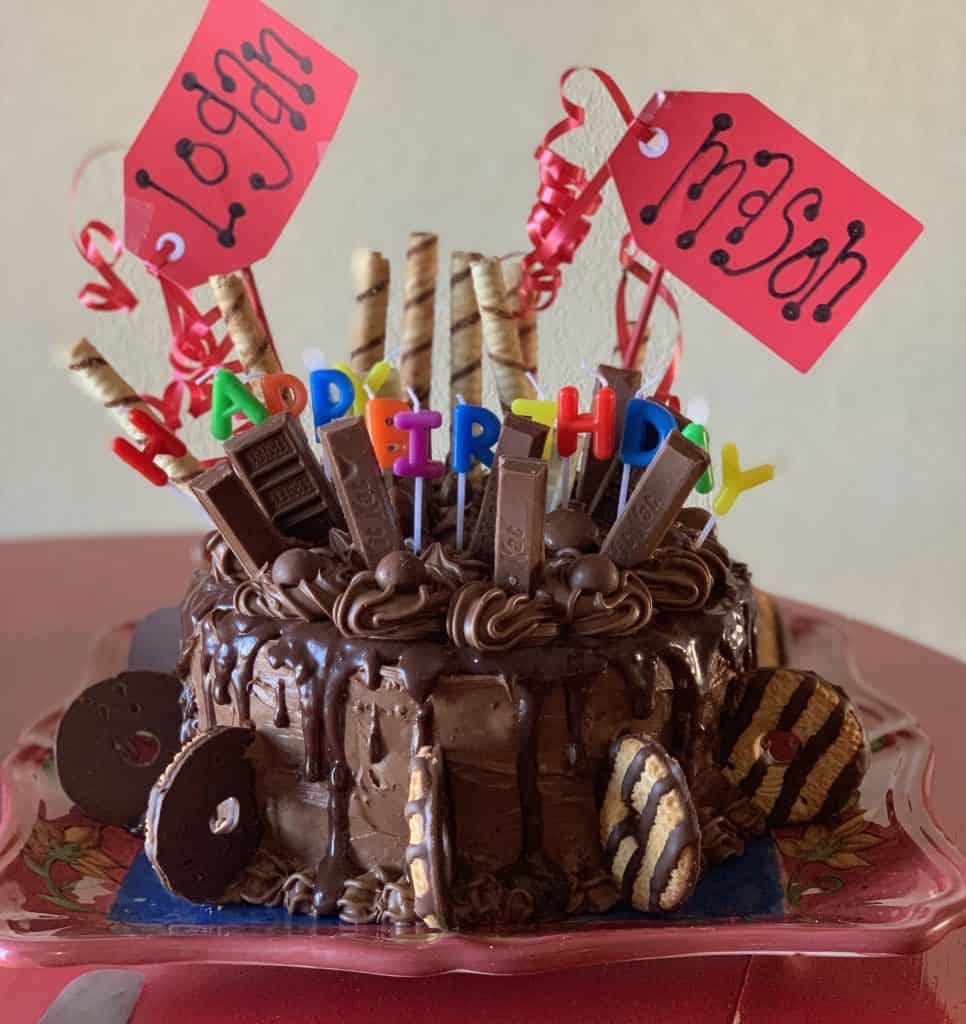
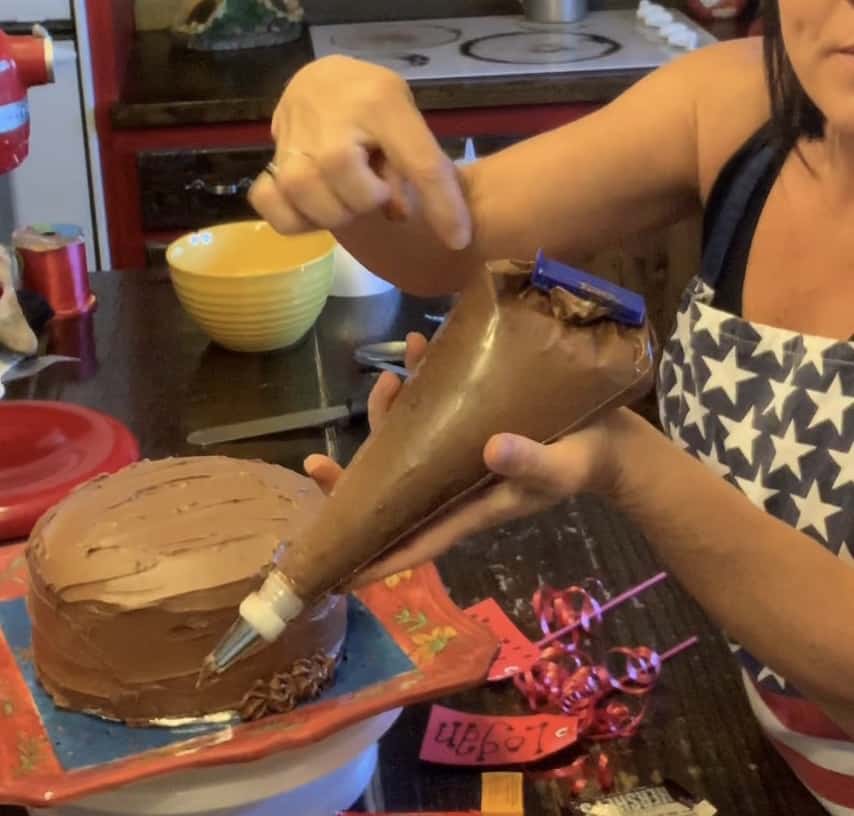
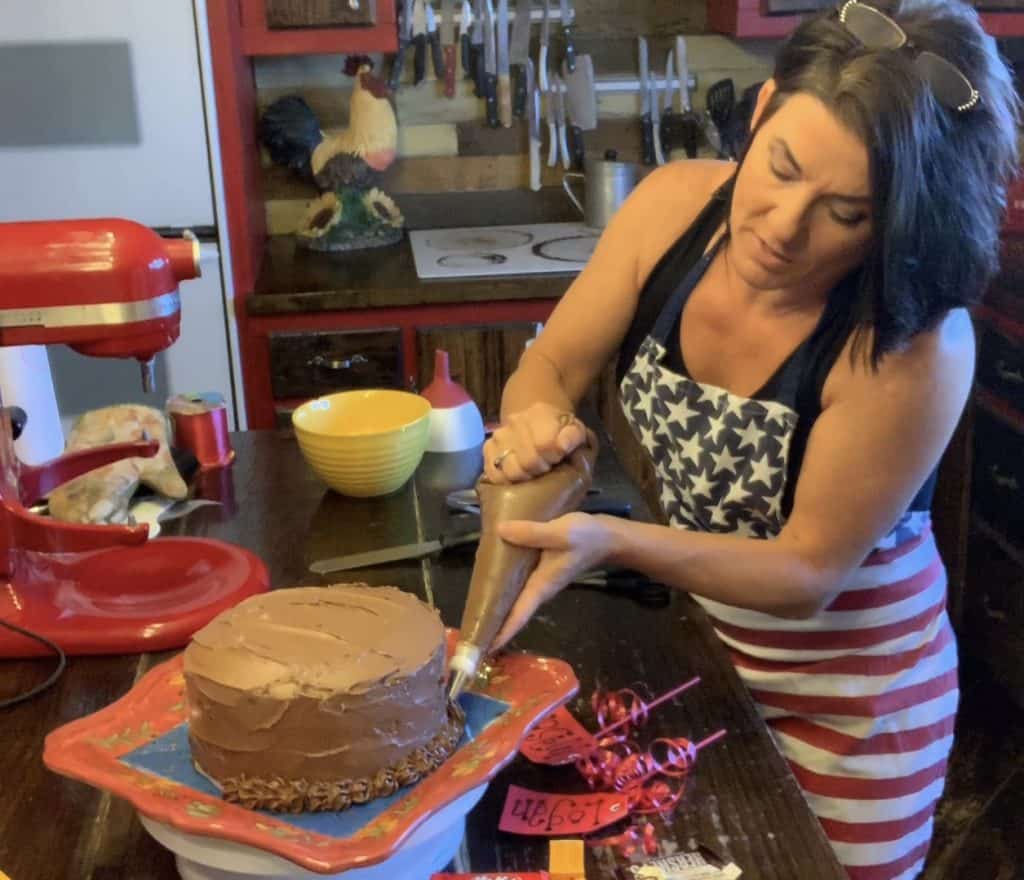
Getting on to the ‘awesome’ cake… it was definitely the visual star of the show! It was a devil’s food cake with cream cheese filling (and a few chocolate chips for good measure!). After the skim coat of chocolate frosting, I used a pastry bag with a large tip (star or whatever) to add the additional decorative frosting.
Decorate a Cake; Chocolate Ganache Drizzle
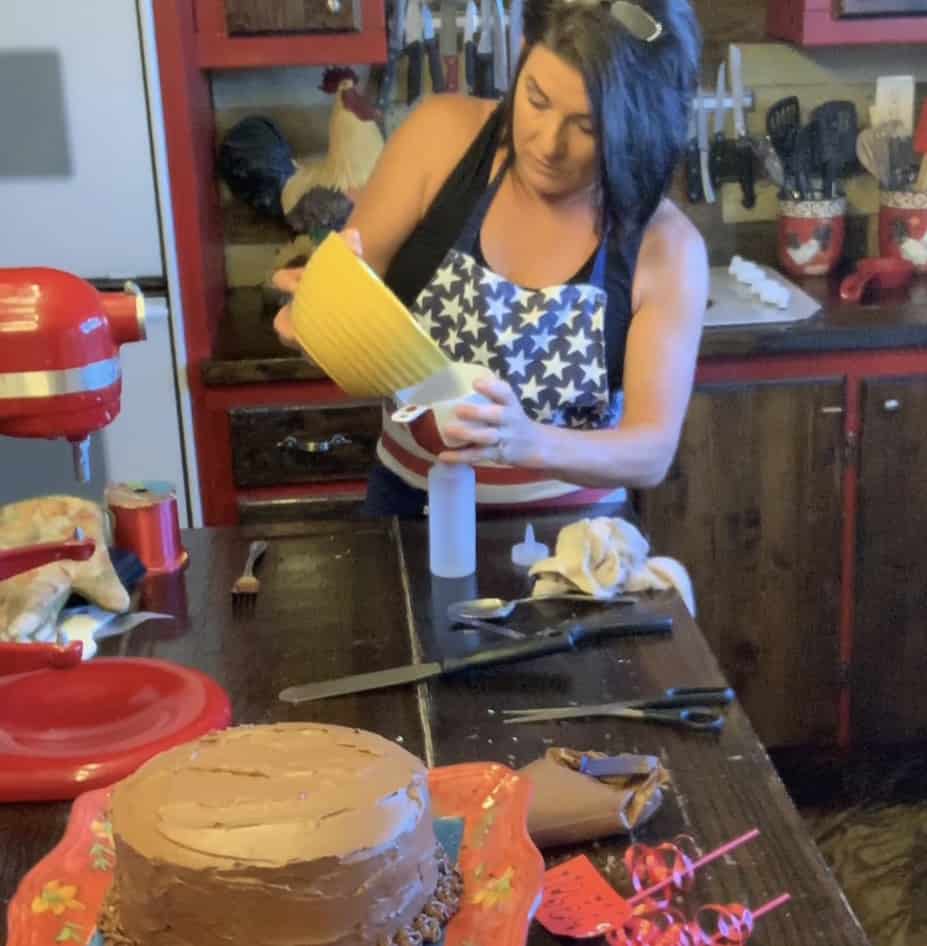
The next step was to make the chocolate ganache, using 1 part chocolate chips and 1 part heavy cream. I heated the cream just to the boiling point and poured it into a bowl with chocolate chips. I let them set for just a couple of minutes then began stirring to mix it completely. Once ready, I poured it into a bottle that allowed me to create the drip around the outer edge. (It looks super awesome!)
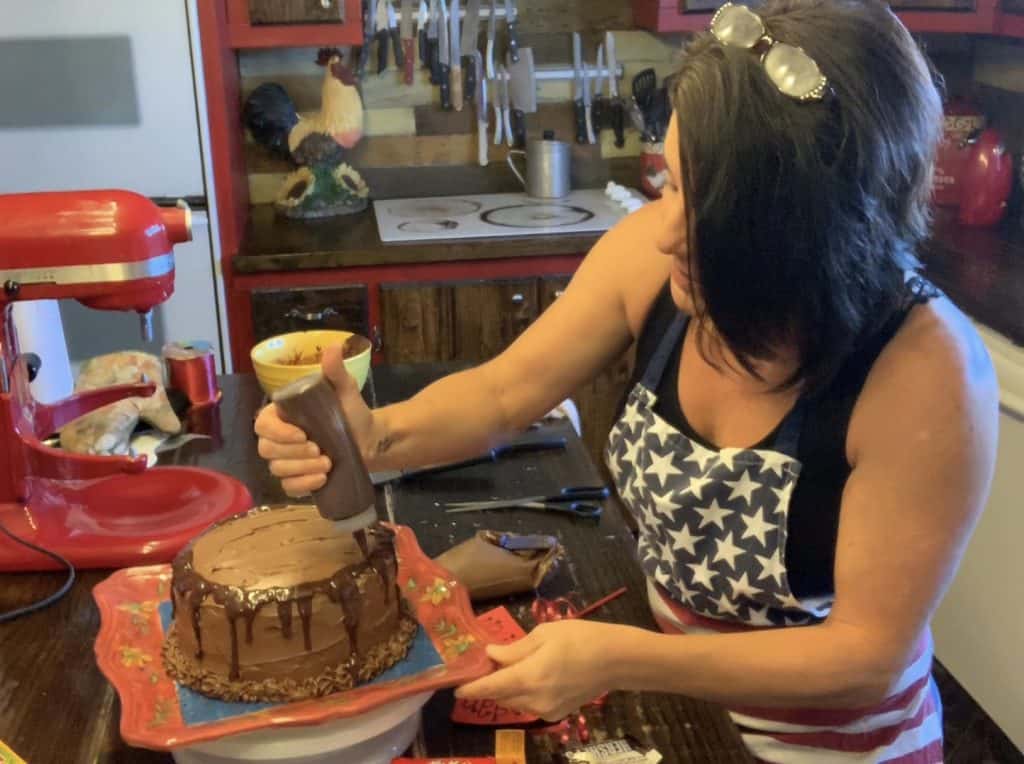
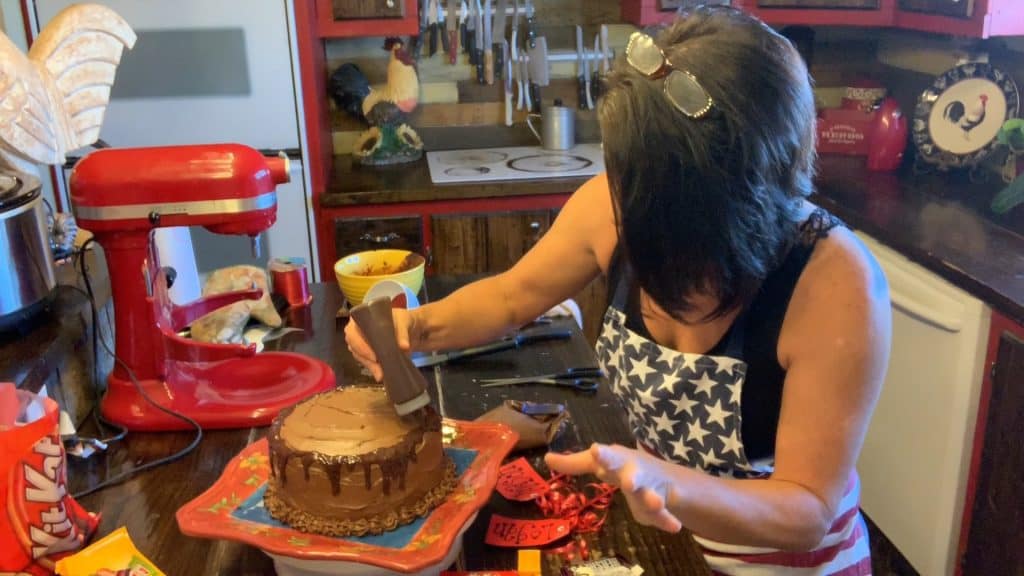
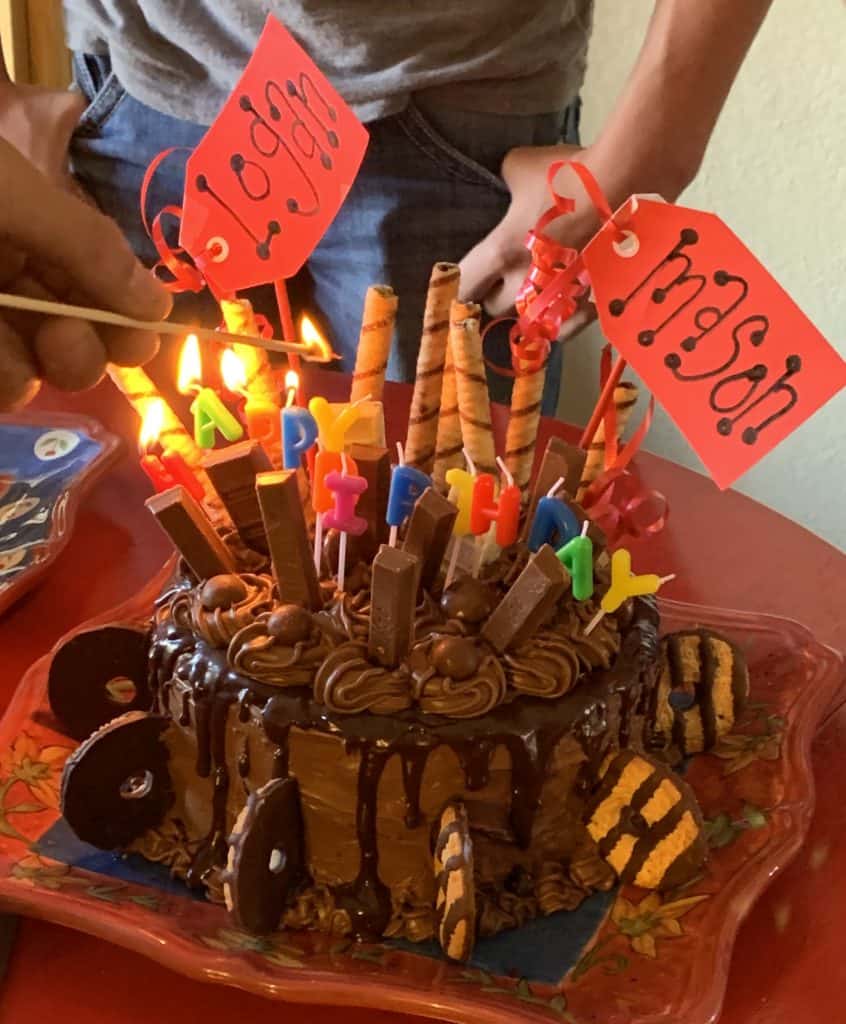
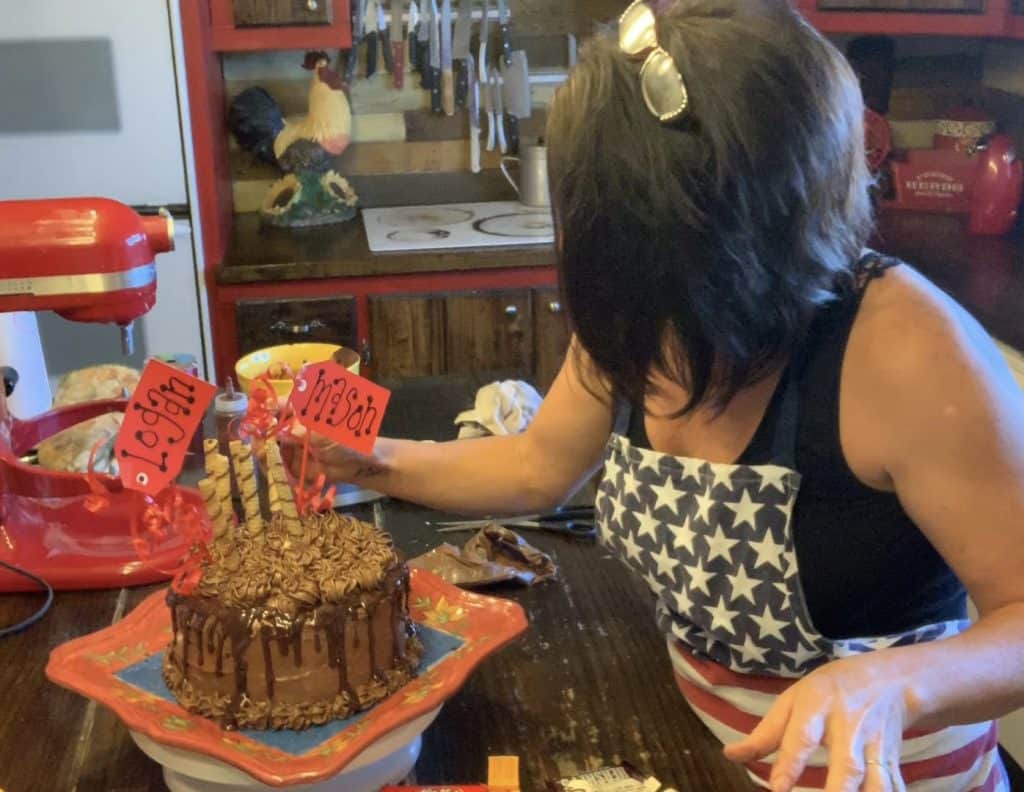
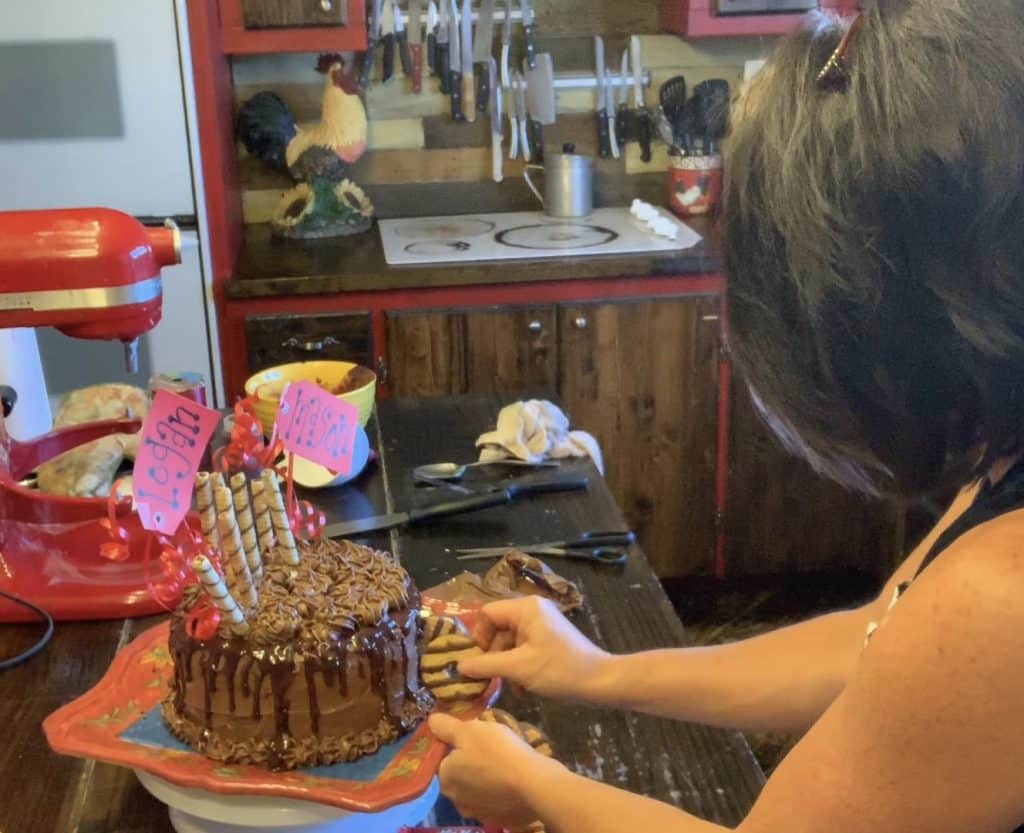
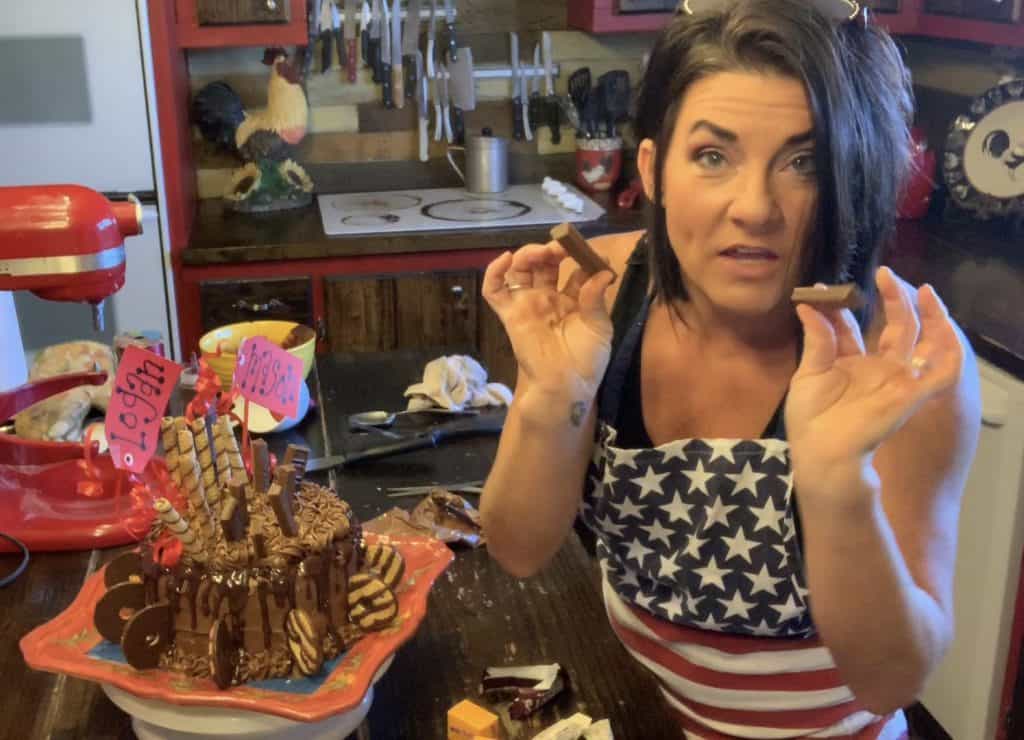
The plan with this cake was to pile it high with decedent goodies …in place of actual skilled decorating! (See how sly I am!) I used the pastry bag to add frosting in various places to act as glue for the goodies. I made a couple of pennants with the boys’ names on them to add height to the cake and then I just started placing all of the candies and cookies where they looked good–no rhyme or reason at all.
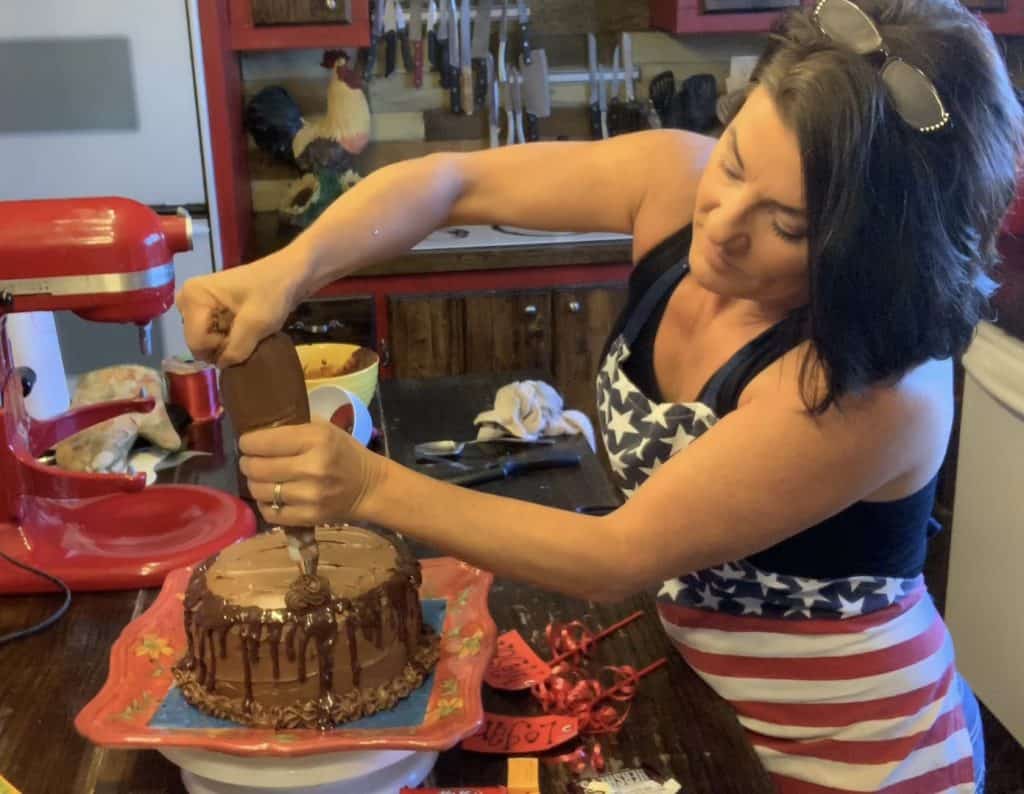
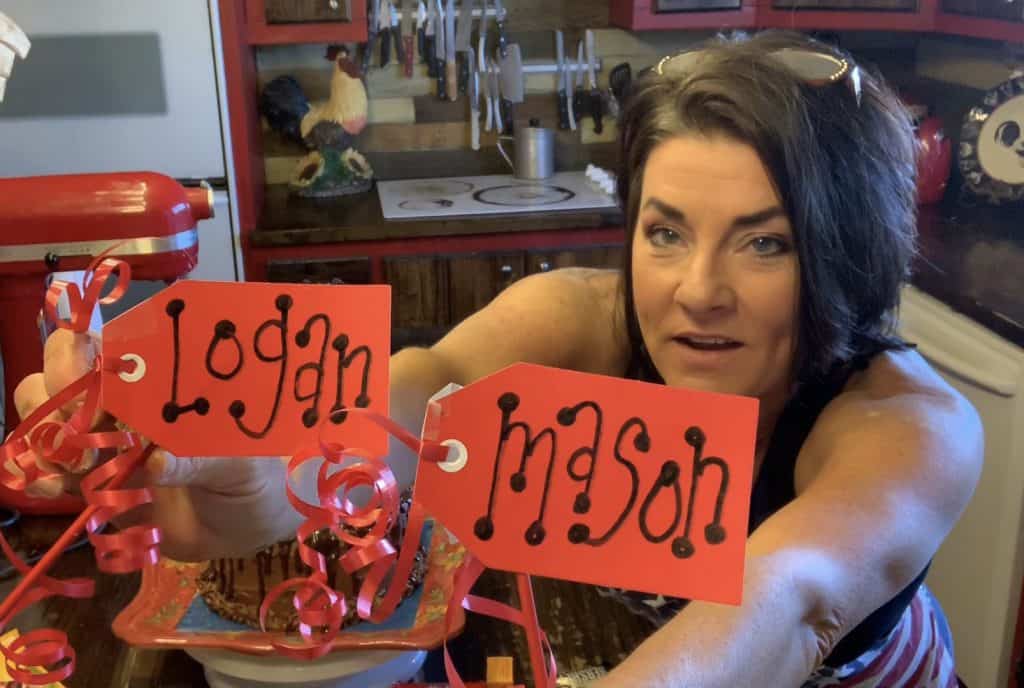
Tip # 4 – Use ‘Cool Stuff’ in place of special decorating skills
So, you see, you don’t have to BE a ‘cake decorator’ to decorate a cake that wows people. There are definitely tips and tricks out there to assist in cake decorating. My biggest and most important tip is to focus on the flavor and texture of your cakes. The beauty is gone as soon as you cut it, but the ‘yum’ is what sticks around!
Tip # 5 – The most important tip — MAKE IT TASTE GOOD!
MORE WAYS TO CONNECT
We also, as a homesteading family, have three additional blogs that might interest you.Two Oaks Farm Talkconcerns the more technical side of homesteading. We discuss subjects like gardening, food prep, and farm building and construction with lots of tutorials!
Farm Raised Familyis basically a hub for everything under the Two Oaks Farmstead umbrella. You can learn a great deal about all parts of the farmstead there. TheFarm Raised Family blogfocuses on financial matters such as budgeting, saving, and more and on current events affecting families.
You can also have a more in depth look at all that we do by visiting ourTwo Oaks Farmstead YouTube Channeland be sure to subscribe so that you don’t miss a thing!
Farm Life and Freedomis the new podcast we are in the process of launching! It is going to be so much fun!
Two Oaks Farmsteadis the farm store… the one that holds the umbrella! Check us all out and join us, not only on our blogs andFarm Life and Freedom podcastbut come join the fun on Facebook, Instagram, Twitter… wherever you get social!
